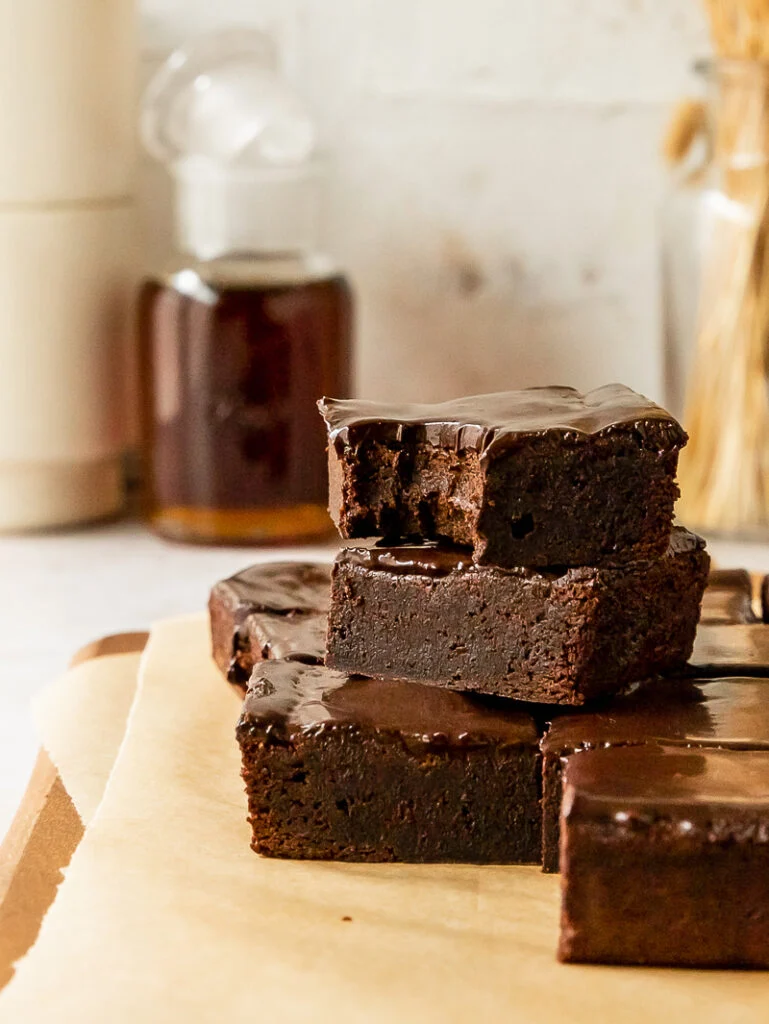
As you embark on creating these indulgent Fudgy Maple Brownies, remember to infuse each step with love and creativity. These brownies are more than just a treat – they’re a canvas for your culinary imagination.
Ingredients:
For the Brownies:
– 1/2 cup unsalted butter
– 1 cup granulated sugar
– 2 large eggs
– 1 teaspoon vanilla extract
– 1/3 cup pure maple syrup
– 3/4 cup all-purpose flour
– 1/2 cup unsweetened cocoa powder
– 1/4 teaspoon salt
– 1/4 teaspoon baking powder
For the Maple Glaze:
– 1/4 cup unsalted butter
– 1/4 cup pure maple syrup
– 1 cup powdered sugar
– 1/2 teaspoon vanilla extract
For Garnishing:
– Chopped nuts (such as pecans or walnuts)
– Maple syrup drizzle
– Flaky sea salt
Cooking Process:
Step 1: Prepare the Brownie Batter:
- 1. Preheat your oven to 350°F (175°C). Grease and line an 8×8 inch baking pan with parchment paper.
- 2. In a medium saucepan, melt the butter over medium heat. Remove from heat and stir in the granulated sugar until well combined.
- 3. Add the eggs, one at a time, mixing well after each addition. Stir in the vanilla extract and maple syrup until smooth.
- 4. In a separate bowl, sift together the flour, cocoa powder, salt, and baking powder. Gradually add the dry ingredients to the wet ingredients, stirring until just combined.
- 5. Pour the brownie batter into the prepared baking pan, spreading it evenly with a spatula.
Step 2: Bake the Brownies:
- 1. Place the baking pan in the preheated oven and bake for 20-25 minutes, or until the edges are set and a toothpick inserted into the center comes out with a few moist crumbs.
- 2. Remove the brownies from the oven and let them cool completely in the pan on a wire rack.
Step 3: Prepare the Maple Glaze:
- 1. In a small saucepan, melt the butter over medium heat. Stir in the maple syrup until well combined.
- 2. Remove the saucepan from the heat and whisk in the powdered sugar and vanilla extract until smooth.
- 3. If the glaze is too thick, you can add a little milk or cream to thin it out to your desired consistency.
Step 4: Glaze the Brownies:
- 1. Once the brownies are completely cooled, pour the maple glaze over the top, spreading it evenly with a spatula.
- 2. Sprinkle chopped nuts over the glaze, if desired.
- 3. Let the glaze set for about 15-20 minutes before slicing the brownies into squares.
Garnishing:
– Drizzle extra maple syrup over the sliced brownies for added sweetness and a beautiful finish.
– Sprinkle a pinch of flaky sea salt over the glazed brownies to enhance the flavors and add a touch of elegance.
– Serve the brownies on a decorative platter lined with parchment paper for a visually appealing presentation.
Notes and Tips:
- 1. Fudgy Texture: Be careful not to over bake the brownies to maintain their fudgy texture. They should still be slightly gooey in the center when you remove them from the oven.
- 2. Quality Ingredients: Use high-quality pure maple syrup for the best flavor in both the brownies and the glaze.
- 3. Room Temperature Ingredients: Ensure that the eggs and butter are at room temperature before mixing to achieve a smooth and uniform brownie batter.
- 4. Cooling Time: Allow the brownies to cool completely before adding the glaze to prevent it from melting and becoming too runny.
- 5. Storage: Store leftover brownies in an airtight container at room temperature for up to 3 days, or in the refrigerator for longer shelf life. Warm them slightly before serving for that fresh-from-the-oven taste.


